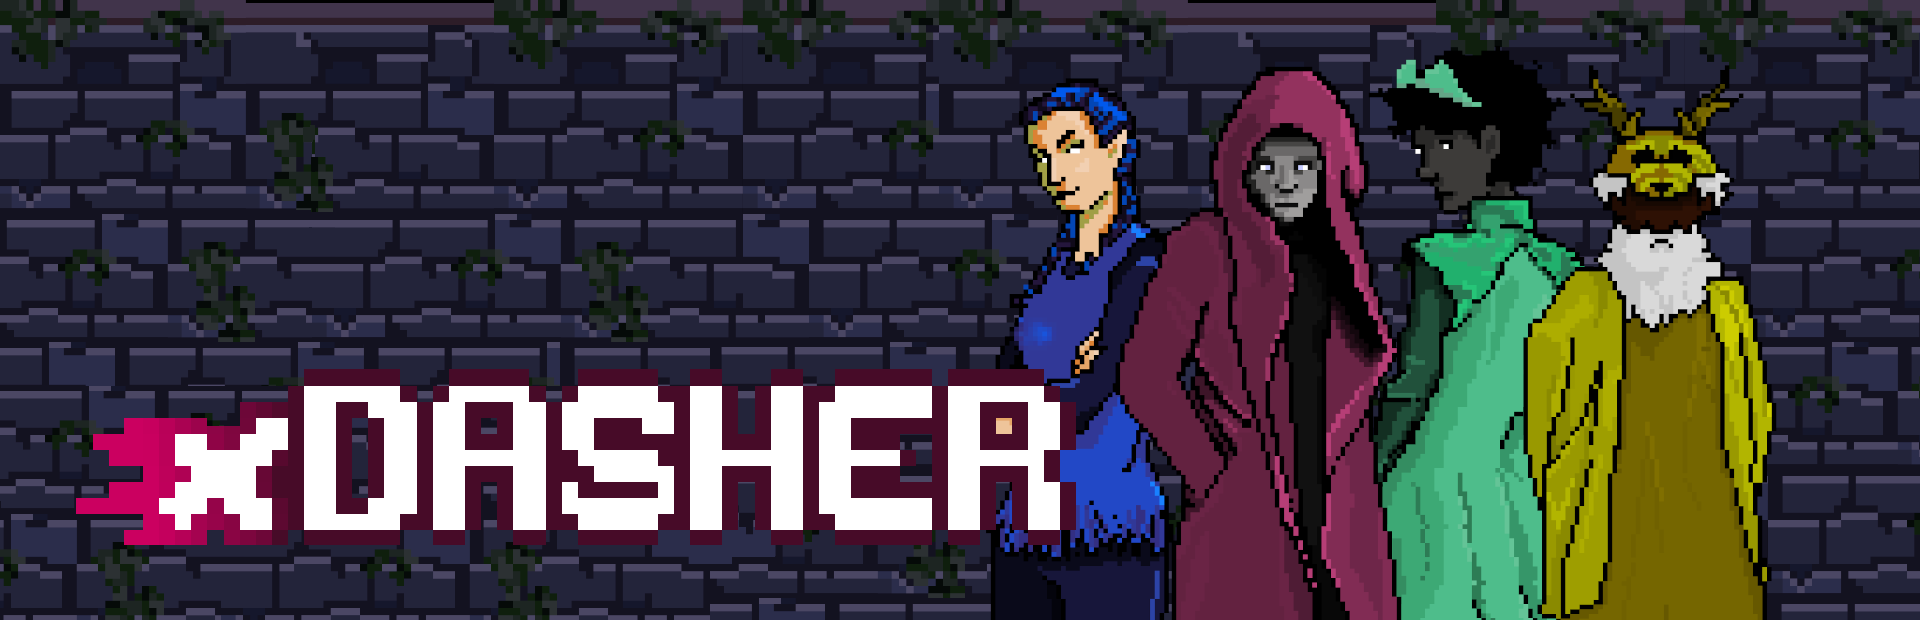
xDasher (Demo)
4 things we did to add light and depth to our Pixel Art Game
In xDasher we strive for a modern pixel art style. It was originally inspired by Zelda - A Link to the Past. But right from the beginning we knew we'd like to achieve a more vibrant style as nowadays pixel art can look as gorgeous as in Hyper Light Drifter or Dead Cells. But to achieve this modern look is also a lot of hard work. It needs time and skill we knew we don't have with only one person doing art and animation. To reduce the workload we kept colors to 4-6 per sprite and shapes simple. With this limitations we ended up with a very flat looking game.
Here is what we did to make it look better.
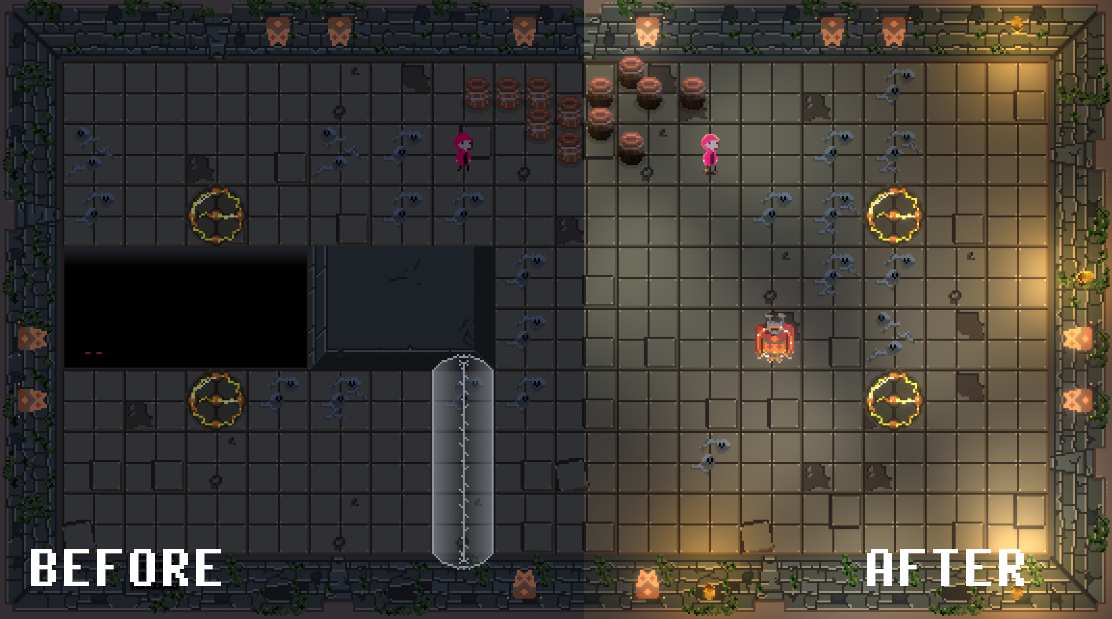
1) 3D Lights and Light Cookies
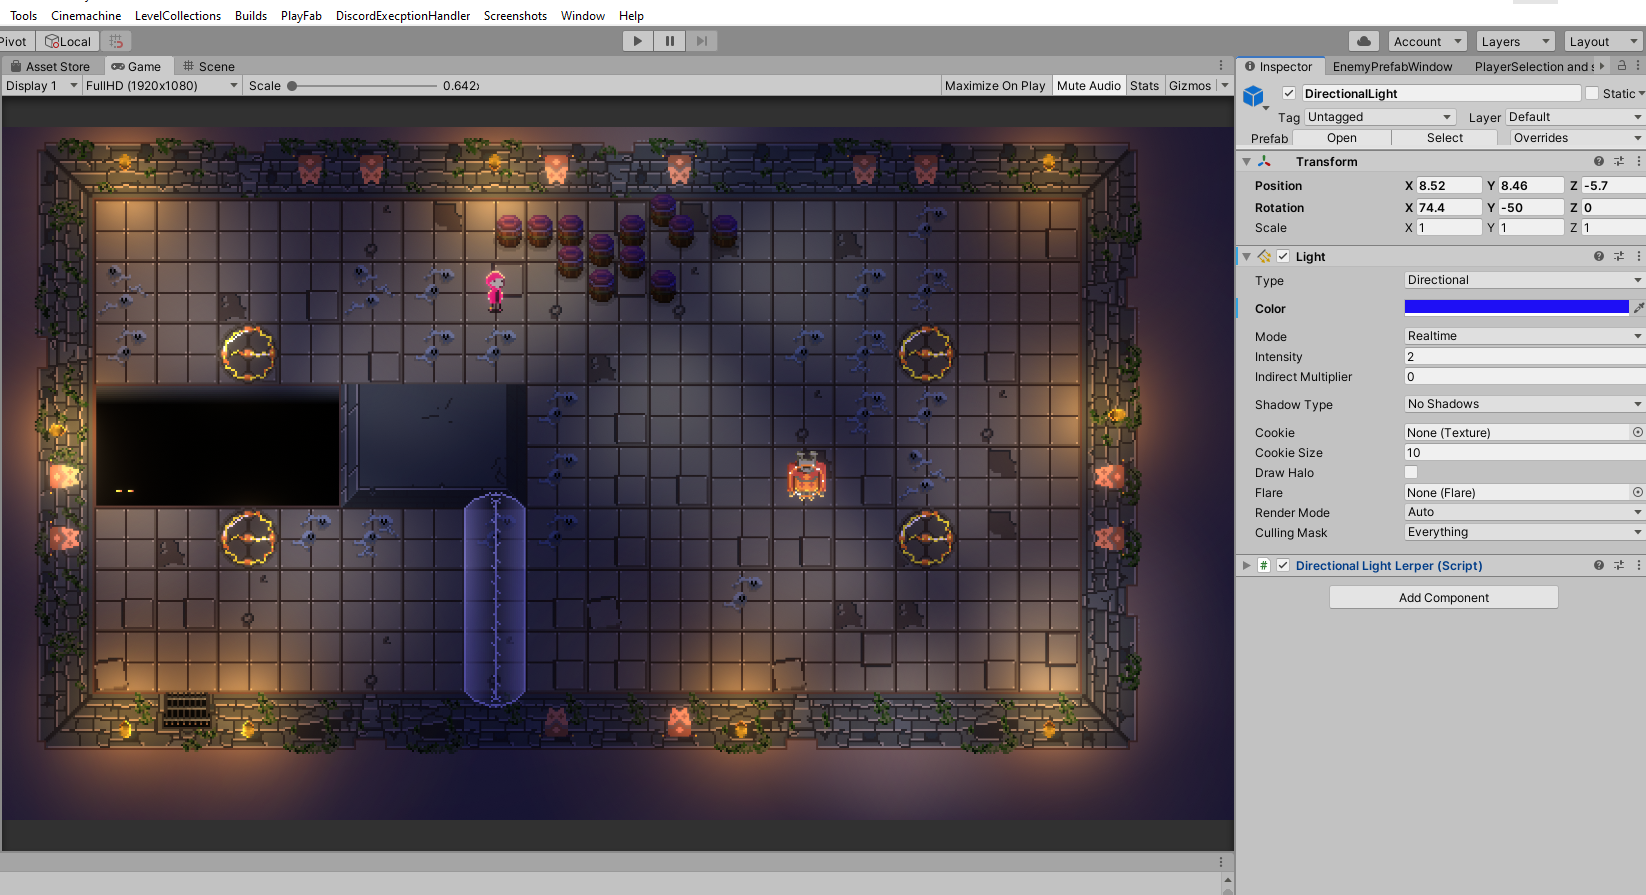
Unitys new 2D Lights were available when we started with the development of xDasher, but it still was in an early stage. I decided not to use it, because the features were still limited and a lot of people had problems with them according to posts in the Unity Forums. We wouldn't recommend going into production with a brand new engine feature. There won't be many tutorials or answered questions on the internet; there might be bugs or some features may not be fully working.

So we ended up using the good old 3D lights to illuminate our scene, after stumbling over this Unite Session. It shows some very nice techniques to light a 2D game in Unity.

We use the Standard Sprite Diffuse shader on all sprites and on the tilemap so they can receive light and set up a couple of light sources in our scene. We use point lights for the torches. They emit within a radius around their center so you want the transform position of the point light to be above the sprites, otherwise this often leads to very sharp edges and burned out sprites. From our experience, it works well if you push the light further away from the sprites and use a higher intensity with a rather big radius.

For some diffuse and more earie light we also added some spotlights. They shine directly from above onto the tilemap. The trick here is to use a cookie texture. This is a method to mask the light and create shadows across a scene, for example when light falls through a window and the window frame casts shadows on the floor. A grayscale texture tells the light where it is "masked", but you can think of it as "where the shadows are". We use this technique to add some diffuse light our characters can receive when they move around the level, which also adds a tiny little bit of depth.

2) Rim Light
But that wasn't enough and our characters still looked very flat. So we added a little rim light shader. It finds the outmost pixels of our sprites and calculates which light they receive and updates the color accordingly. So when we move the character around there is a little outline of light around him, that gives him even more depth and makes him a believable part of our world. The implementation we use is by @crazybitstudios as decribed in this tutorial.

3) Draw and drop shadows
We learned it late, but the most efficient way to light a 2D game still is to paint the shadows directly onto your sprites. That's what they did in the 16-bit era and it works very well, when done consistently. Back then, they did not have the computing power to calculate light and especially on the SNES artists perfected drawing shadows onto sprites, but you will find this till today not only in pixel art games like Owlboy, but also in 2D games in general, for example in Hollow Knight. For our game, I just added some very subtle shadows as well as some drop shadows underneath the characters to give them a little more depth.

4) Normal Maps
Normal maps are textures that tell the engine in which direction a surface is directed, which helps with believable lighting and is done in 3D games all the time. As we have 3D light sources in our scene we can use the Standard Unity Shader for our sprites and assign a normal map. We use normal maps only on some destructable environment to make it feel extra plastic. This also works for sprite animations. You just have to make a normal map that exactly matches your sprite sheet. Normal maps are best painted by hand but there are also some very good free programs like laigter that generate normal maps from images.

Now that everything is set up, we can play around with the settings on our directional light, especially the color, and rotate and replace the spotlights to create the desired atmosphere for our levels.
STAY TUNED


This game is already finished, but we are always working on other games and games related stuff, so make sure you follow us on the usual social media platforms!
Comments
Log in with itch.io to leave a comment.
Awesome insight!
Thank you!